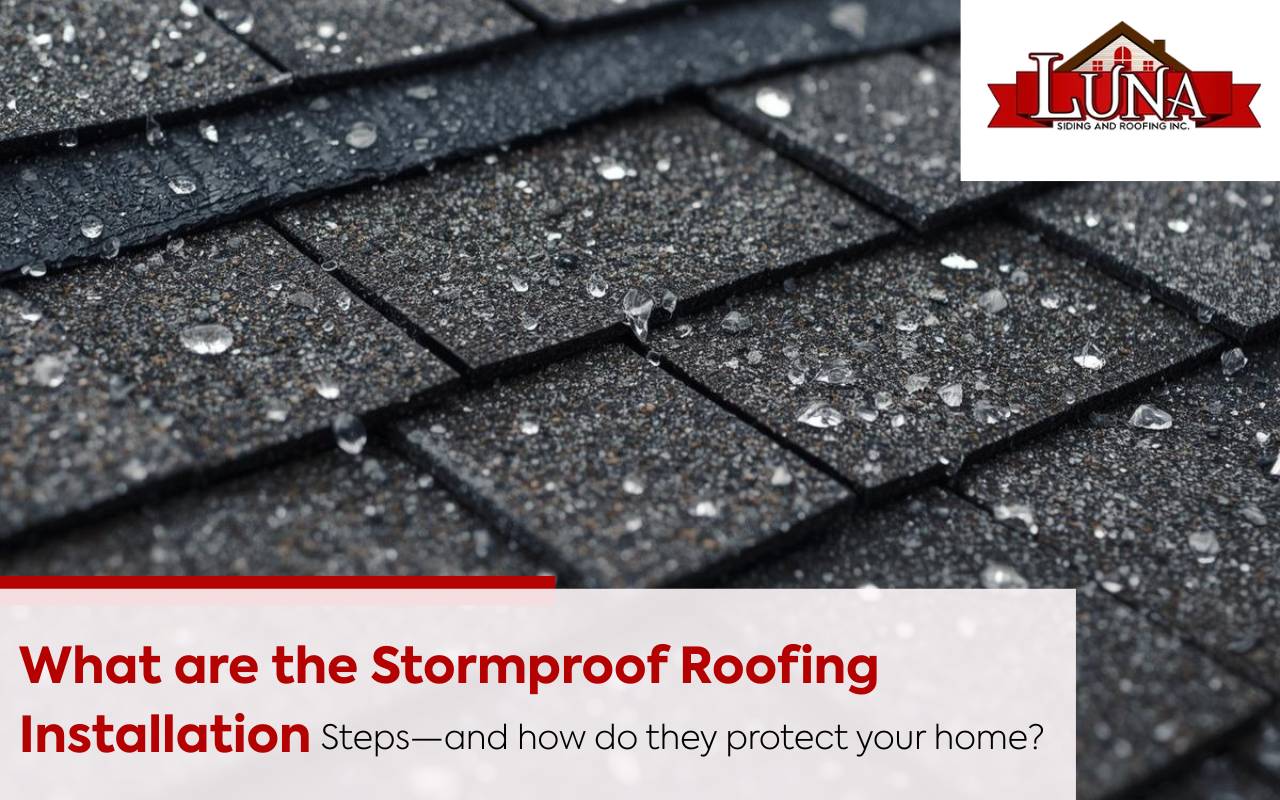
What are the Stormproof Roofing Installation Steps—and how do they protect your home?
Protecting your home from extreme weather starts at the top. This guide breaks down Stormproof Roofing Installation Steps in clear, actionable language so you can plan confidently, speak to contractors effectively, and avoid costly mistakes. From materials and underlayment to flashing, ventilation, and inspections, you’ll learn what matters, why it matters, and how to implement each step the right way for long-term resilience.
What are the Stormproof Roofing Installation Steps—and how do they protect your home?
The Stormproof Roofing Installation Steps are a sequence of best practices—material selection, structural assessment, substrate prep, waterproofing, flashing, ventilation, fastening, QA, and drainage—that work together to resist wind uplift, shed water, and prevent leaks. When executed correctly, these steps reduce failure points, keep moisture out, and extend the roof’s service life during severe storms.
Choosing the Right Stormproof Roofing Materials
Start by aligning performance, code ratings, and budget. Metal panels excel at wind resistance, Class 3–4 impact shingles mitigate hail, and advanced synthetics deliver strength with lower weight. Matching materials to climate and warranty specifics is foundational to Stormproof Roofing Installation Steps.
- Metal panels: exceptional wind uplift resistance and rapid water shedding.
- Impact-rated asphalt shingles: embedded reinforcements for hail and debris.
- Synthetic tiles: slate/wood looks, lighter loads, strong impact resistance.
For local service options, explore roofing replacement in Poughkeepsie to compare material choices with regional requirements.
Assessing Your Roof’s Structural Integrity
Before advancing through Stormproof Roofing Installation Steps, verify that the framing and deck are sound. Look for sagging, rot, insect damage, or prior leak paths in attic spaces. Reinforce trusses, replace compromised sheathing, and correct any rafter deficiencies to meet load and uplift demands.
- Inspect deck edges, valleys, and penetrations for softness or delamination.
- Check attic for moisture staining and inadequate ventilation pathways.
- Address structural fixes before installing new roofing components.
Preparing the Roofing Substrate
Strip to clean decking so subsequent Stormproof Roofing Installation Steps bond correctly. Remove fasteners and debris, plane/sand high points, and replace weak boards. Where applicable, apply a compatible primer to seal the deck and stabilize moisture content before underlayment.
Installing Weatherproof Underlayment
Use a high-performance, storm-rated underlayment with proper lap patterns and corrosion-resistant fasteners. Seal all penetrations with flashing tape or liquid-applied membranes to create a continuous secondary barrier beneath the roof covering.
Securing Flashing and Edge Details
Flashing directs water away from joints—one of the most critical Stormproof Roofing Installation Steps. Prioritize corrosion-resistant metals and meticulous terminations at valleys, walls, chimneys, eaves, and rakes.
- Valley flashing with correct overlaps and fastener placement.
- Step and counterflashing at sidewalls and chimneys, fully sealed.
- Drip edges installed under underlayment at eaves and over at rakes.
Understanding Proper Ventilation Techniques
Balanced intake and exhaust (e.g., soffit + ridge vents) purge heat and moisture that can warp decking and weaken adhesives. Choose wind-rated vent assemblies and ensure insulation does not block airflow channels.
Implementing Impact-Resistant Shingles
Install Class 3 or Class 4 shingles per manufacturer patterns, with fasteners in the designated nail line and the correct count per shingle. Proper fastening density and placement are non-negotiable Stormproof Roofing Installation Steps for wind resistance.
Conducting Quality Assurance Inspections
Post-install, verify seating, laps, fasteners, sealant continuity, and terminations. Consider third-party inspection to validate code compliance and warranty readiness—catching small issues now prevents expensive callbacks later.
How to Execute Stormproof Roofing Installation Steps (Step-by-Step)
- Confirm structural soundness (framing, decking, connections).
- Remove existing roofing; clean and prepare the substrate.
- Prime deck if specified; install storm-rated underlayment with sealed laps.
- Install drip edges, valleys, step/counterflashing, and pipe/vent flashings.
- Apply selected roof covering (metal, impact-rated shingles, synthetics) with correct fasteners.
- Balance attic ventilation; verify intake and ridge continuity.
- Complete ridge caps, sealants, and all terminations.
- Integrate gutters/downspouts; test drainage away from the foundation.
- Perform final QA inspection and document for warranty/insurance.
Frequently Asked Questions
1) What is the most important underlayment detail?
Continuous sealing at laps and penetrations. Without it, wind-driven rain can bypass the primary roof covering.
2) Do I need Class 4 shingles for every climate?
They’re ideal for hail/wind-prone regions. In milder zones, Class 3 may suffice if budgets are tight.
3) How many nails per shingle improve storm performance?
Follow the manufacturer’s storm/wind specification—often 6 nails per shingle in high-wind areas.
4) Is metal always better than asphalt for storms?
Metal often excels at wind uplift, but project specifics (budget, noise, aesthetics, codes) can make high-quality asphalt or synthetics a better fit.
5) When should I schedule inspections?
Before tear-off, mid-install (after underlayment/flashing), and at final completion for documentation.
Ensuring Proper Drainage System Integration
Right-sized gutters, securely hung, and clear downspouts prevent backflow under edges. Direct discharge away from the foundation with splash blocks or drains. This complements other Stormproof Roofing Installation Steps by routing water safely off the building envelope.
Embracing Safety and Peace of Mind
When the full set of Stormproof Roofing Installation Steps is followed, your roof forms a layered defense that resists uplift, sheds water, and limits leak paths. For estimates or timeline planning, contact our roofing team for expert guidance.
References
Good Housekeeping: Why Closing Your Interior Doors Could Save Your Home During Natural Emergency
Kiplinger: Nine Easy Home Hardening Projects That Also Save on Insurance
