How to Install Gutters and Downspouts | Tips and Steps
Do you want to learn how to install gutters? These systems and downspouts are required in most houses to collect and transport rainfall. Suppose they were not present when the waterfalls would erode the soil surrounding the foundation and could cause damage and dirt. Also, it becomes an inconvenience when it’s raining, and you want to enter your house, and all the rain falls over you.
Typically, professionals install gutters and downspouts; however, you can learn about this process and do it yourself with some help.
Easy Steps to Make the Process Easier | Install Gutters
If you’re wondering how to install gutters on your home, you’ve come to the right place. Here are a few tips for installing a gutter.
- Mark the position where the gutter will be placed and put a nail
- Use a chalk line to mark the line of the entire gutter
- Make sure the level has a pitch
- Line it up and snap the line
- Length the line
- Install the end cap on the extreme of the gutter
- Cut the gutter
- Place the other cap
- Cut a hole for the outlet
- Put a bead of gutter sealant around the underside
- Screw it in place
- Put the gutter temporally lower where it will be installed
- Put the hangers in their position
- Reposition the gutter
- Screw the bracket off
Depending on the style of your home, you may be able to install a gutter on your own, or you can hire a professional to do the work for you.
Tips that will help you: Use the correct tools
When installing a gutter, remember to use the proper tools for the job. Here are some of the most common tools to install a gutter.
- Level
- Chalk line
- Crimping tool
- Hacksaw
- Sticks
- Chisel
Easy Guide to Install Gutters
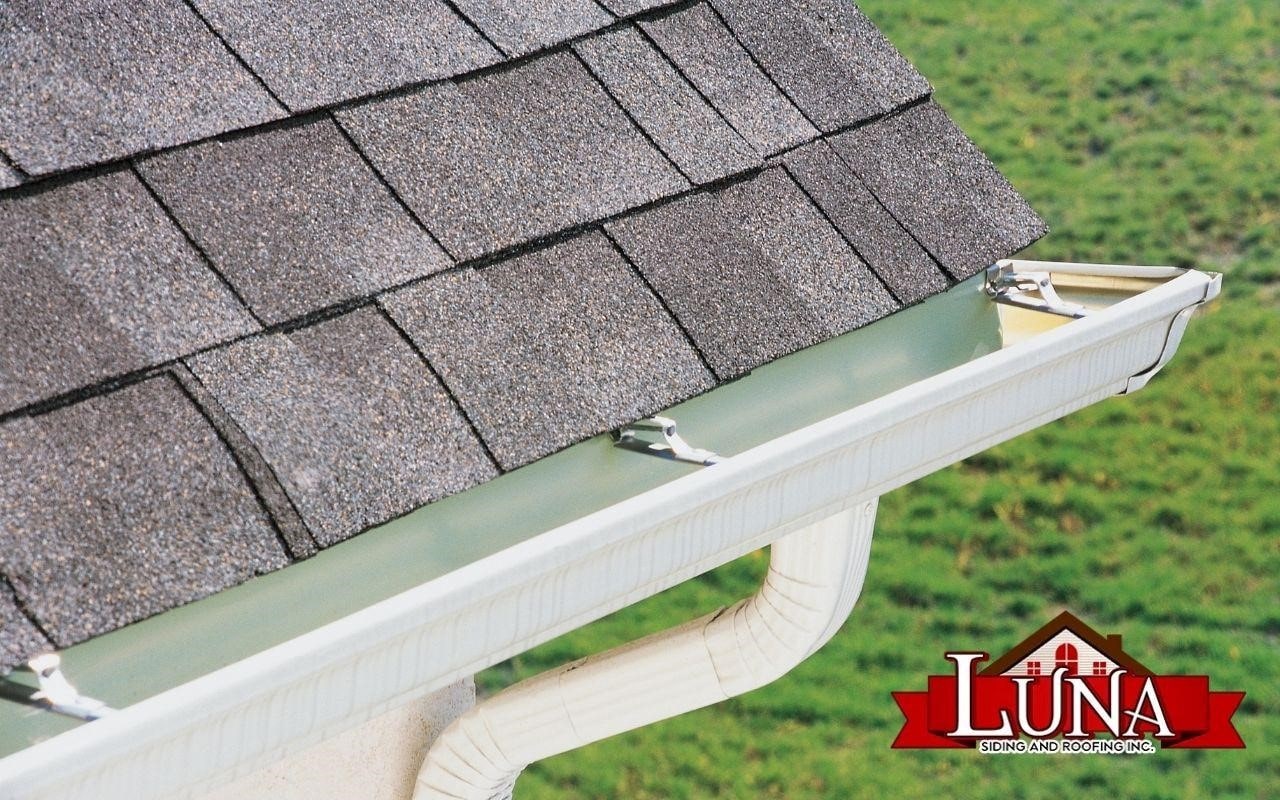
The first step in installing a gutter is determining where it will be. You can inspect the roofing and use a level to create an imaginary line to see where the direction of the fall of the water is. When you’re looking for the correct position, a common mistake is to place it too high.
Thus, it is better to locate the position of the level with the line gutter; you can use a cap of the gutter to verify this.
Using a chalk line, confirm with the level that it has a pitch; if all is correct, line it up and snap the line. After that, measure the line to obtain the length of the gutter. Now, cut the gutter section with a hacksaw and finish the cut with a stick.
After you’ve determined the exact length of your gutter, you can add the outlet. You must place the downspout flange side down to the wall. To install the downspout, you must install the flange side down.
Then, install the end cap on the edge of the gutter, install some caulking and push it up. The next step is to tighten it with a crimping tool.
Position of the Gutter
Moreover, as we mentioned before, before installing the gutter, we can add the outlet. Thus, cut a hole for the outlet to let the water out of the gutter. You can use a chisel for this task. Another way to do this is to use a pencil to mark the position, drill a hole, and attach the pop rivet.
You must place a bead of sealant around the underside, then screw it in place.
After drilling the hole, install the gutter’s brackets to the fascia. Be sure to secure the hangers with a flange nut to avoid accidents. If you don’t have these, you’ll have to hire a professional to do it. You should be able to do it yourself in a day.
You can start connecting the downspout when you finish putting the hangers in their position and screwing them.
In addition, the other steps are related to connecting the downspout to the gutter. So, the final step is to attach the downspout. You will need to attach a downspout outlet to the gutter to do this. After installing the downspout, you need to screw the pieces together.
Then, you need to connect the downspout to the gutter. The downspout outlet should be able to drain water from the roof. If you’re having difficulty, you can apply a sealant to the downspout.
If you want to learn more about gutter installation, you can contact us to get personalized information!
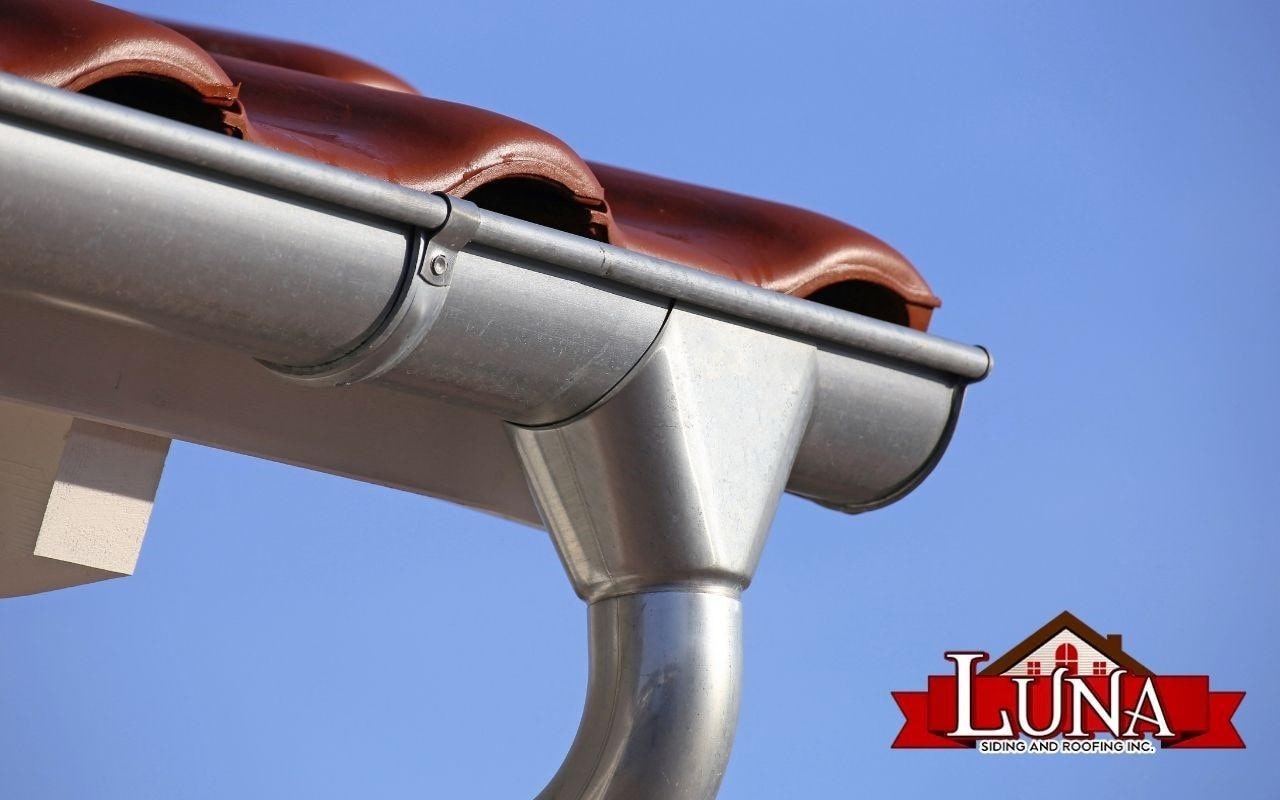
Connecting the Downspout to the Gutter | Essential Guide
You’ll need a hacksaw to cut the downspouts at the proper angles. Ensure that you mark the downspout outlets with tape before you install them. Using a ladder, you can then place the end caps and hangers. Once the end caps are securely placed, attaching the downspout outlet is next.
Downspouts are essential for proper drainage. The downspouts should be positioned at the base of the roof. Once you’ve finished with the installation, you’ll need to connect the downspout to the gutter with the downspout outlet.
The first step in this process is to measure the length of the downspout outlet. You can use a chalk line to mark the locations where you’ll connect the downspout to the gutter. When you’re finished, attach the downspout.
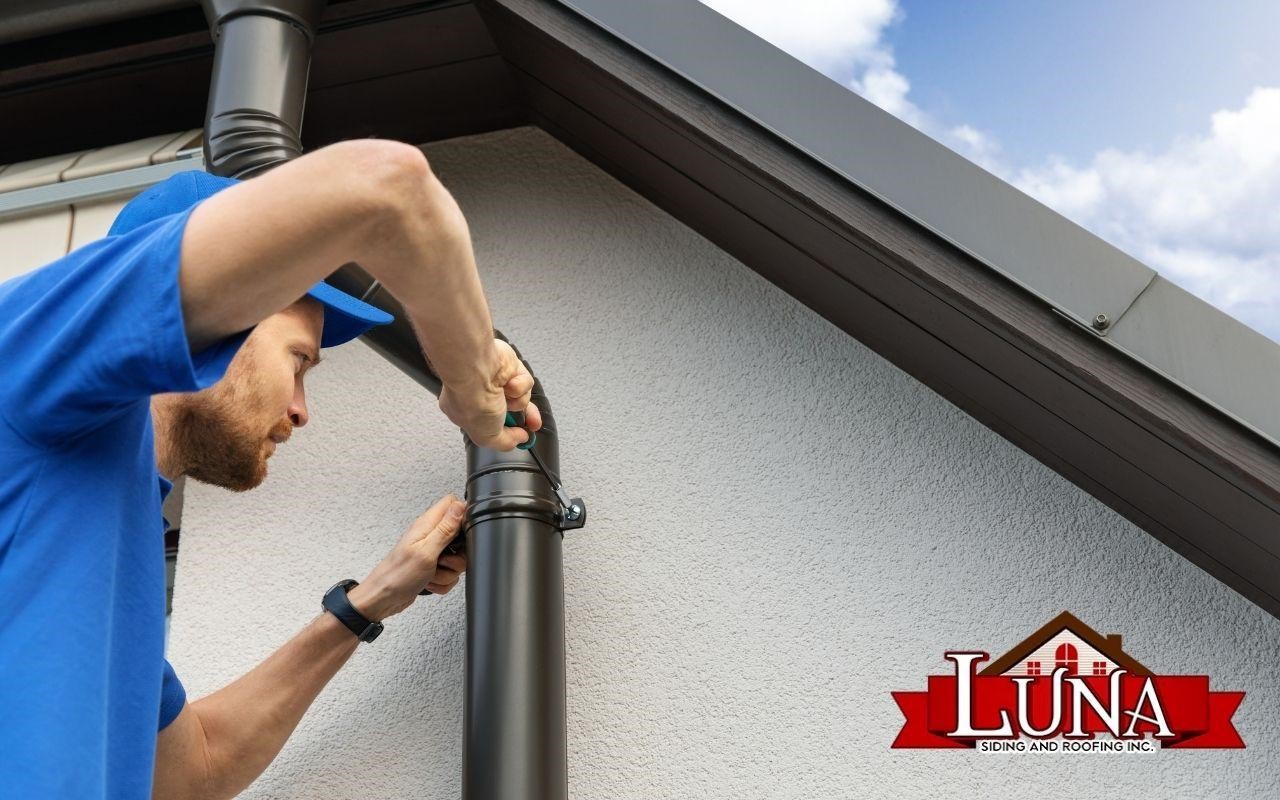
Hence, you’re ready to install the downspout. Depending on how much overhang your roof has, you may have to add more or fewer downspout elbows. If you have a small overhang, you can install the downspout straight down the wall and only have to add an elbow at the bottom.
Therefore, make sure that the elbow is tight enough to keep water out. If you’re worried about tripping, use a chisel or tin snips to cut the elbow. Finally, you can also support the elbow with scraps.
As a final tip, professionals recommend a minimum of two outlets for a gutter of 60 feet, so take it into account when you’re planning to install a gutter and its downspouts.
If you want to know more about Gutter Installations and Replacement, don’t hesitate to contact us!