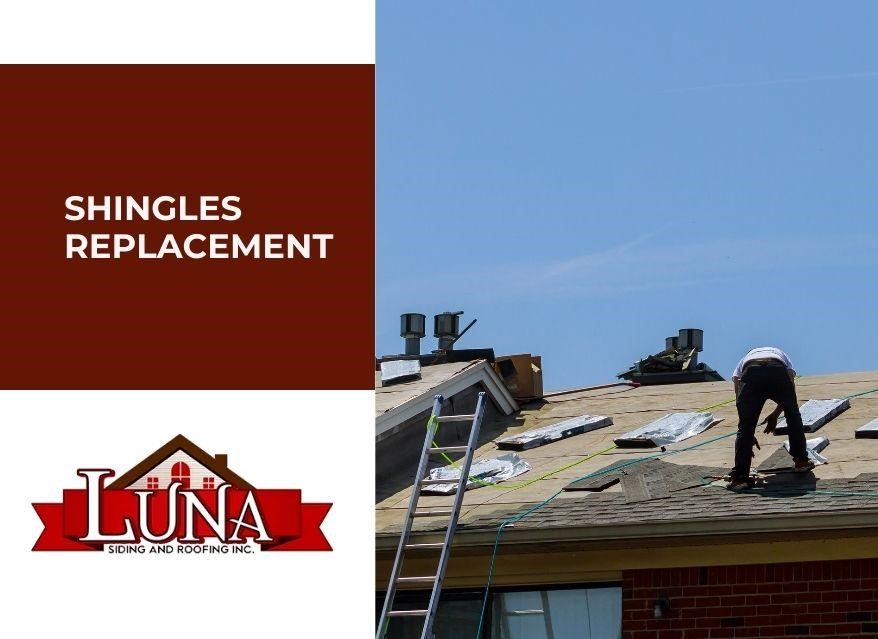
How to Replace Shingles on a Roof | Essential Information to Learn
Are you looking for information on how to replace shingles on a roof? If you have been wondering how to substitute your damaged shingles, this article will walk you through the process step by step.
In this article, we’ll cover the materials needed and the steps to follow. We’ll also go over what to expect if you’re doing it yourself. The information we provide is meant to help you avoid making mistakes that will cost you time and money.
We are sure that you can handle home repairs in DIY projects; nevertheless, a roofing contractor will help you avoid stress and save time.
Keep reading to learn more about roof shingles replacement.
Steps to Take in Replacement Asphalt Shingles Roof
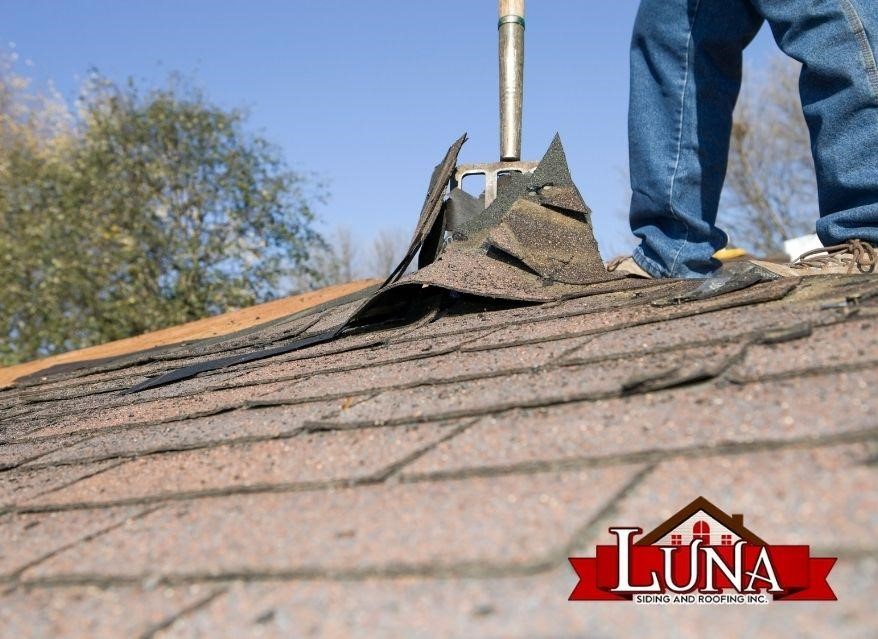
If you’re planning to replace a damaged shingle on your roof, follow these steps.
- Look for the shingle that needs to be replaced
- Verify the length of the shingle
- Remove the sealant bonds joints adhered to the rest of the shingles
- Remove the nails
Now, you can install the new shingle on your existing roof. On the other hand, if you have to replace the entire shingles roof, here are some steps you can follow.
Remember that we can help you with your roof replacement. Here at Luna Siding and Roofing Inc., we will be more than happy to help you!
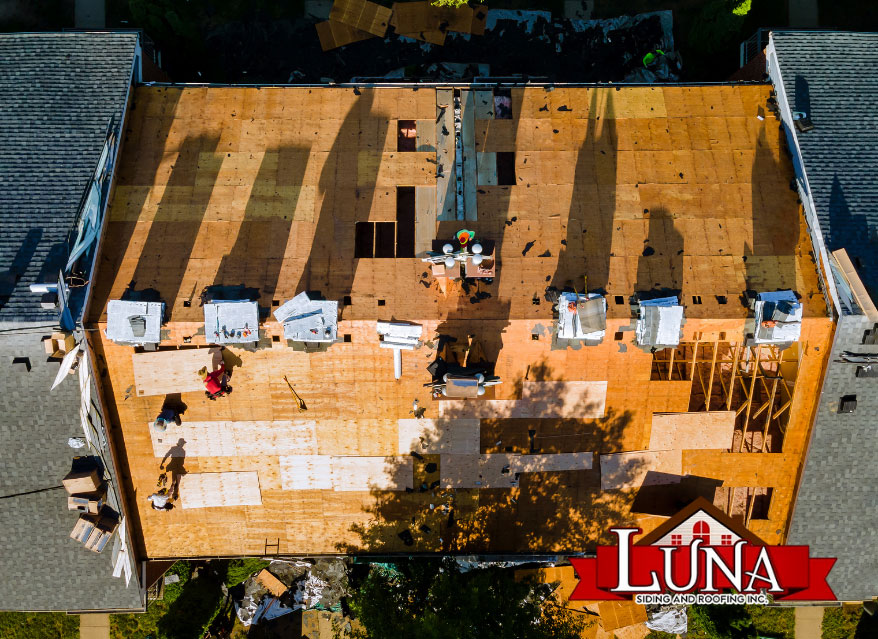
Replacing the entire shingles roof
- Mark the center of the roof
- Laying the shingles
- Place a tar paper
- Nail or staple
- Install under-row layer of shingles
First, mark the center of the roof at the top and eaves. Most roofers use a vertical chalk line to start at the center and work their way down the roof to the rakes. However, some shingle manufacturers recommend starting at the left rake edge. Once you have marked the center of the roof, you can begin laying the shingles.
Now, place a tar paper underlayment over the sheathing. Then, nail or staple the tar paper to the roof. You may also use round stickers to keep water from entering. Next, install the under-row layer of shingles. Make sure to mark the roof’s edges with chalk, as these granules are slippery. In addition, if you need to use nails to attach shingles, you should use the specific roofing nails for your shingles.
Moreover, if you’re planning to replace the shingles yourself, prepare the work area by removing the old ones. If you have an attic, make sure to cover the space with a tarp to catch any debris that falls.
You can also protect your bushes and patio furniture with tarps. You should also prepare the roof by bringing the new shingles and roofing material on site. Furthermore, you should never install the new shingles on top of the old ones. They won’t lay flat and won’t last long. Before you start removing the old shingles, you should search for loose nails.
Materials Needed in a Shingle Roof Replacement
If you have an old roof and need to replace some shingles, you need to know how to nail the new ones.
Nails must be placed flush with the shingles to secure them to the roof. The usual number of nails per shingle is four, but you may need more or less depending on the area.
A hammer, flat pry bar, utility knife, and 11/4-in roofing nails are necessary to replace a shingle. In most cases, each shingle is secured with four nails in the first row. You can also use leftover shingles from previous roofing jobs to avoid waste.
Now that you have part of the essential information, you can contact us for a specific project and get a free consultation. We can assist you with your roofing needs!